Add/Edit Pipes
Access: Actions: Add/Edit Pipe...The Add/Edit Pipe command allows users to add, edit and delete pipes and pipelines in the parts database.
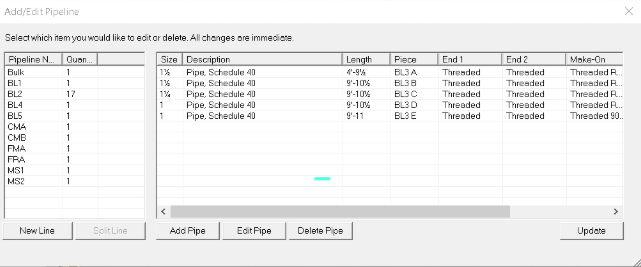
The Add/Edit Pipes command can also be accessed in Actions menu or in the contextual menu. Right-click the pipe type you wish to edit to access the contextual menu and select Open Pipe Add/Edit to open the Add/Edit Pipeline dialog, as shown in the image to the right.
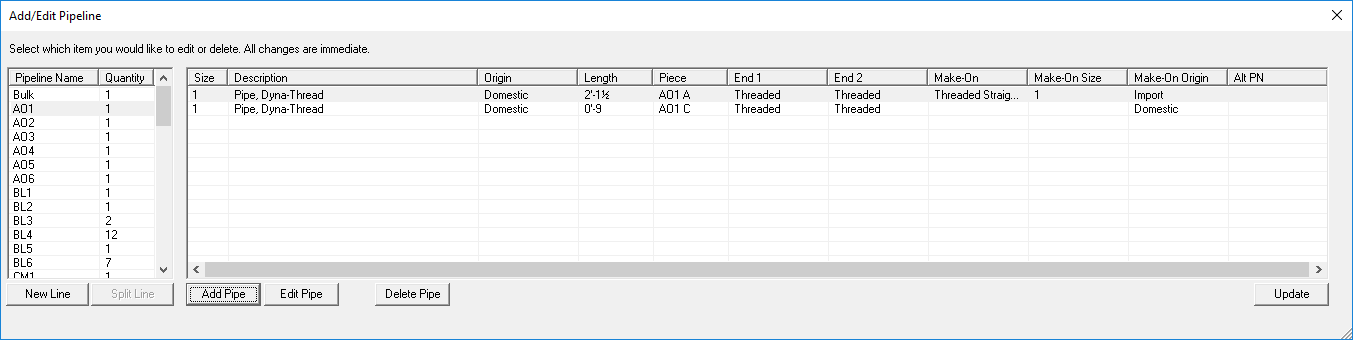
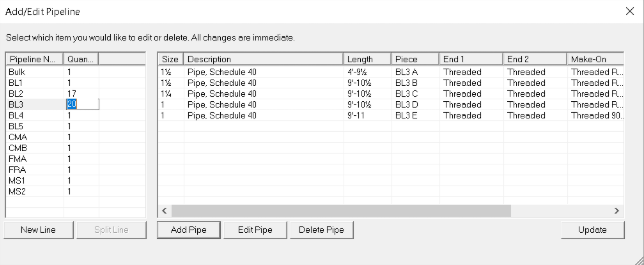
Each pipeline and Quantity is displayed in the left pane of the Add/Edit Pipeline dialog. The pipes that are contained within a selected pipeline are listed in the right pane of the Add/Edit Pipeline dialog along with their Size, Description, Length, Piece, End 1, End 2, Make-On, Origin, and Part Number values.
Add a Pipeline
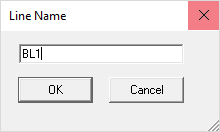
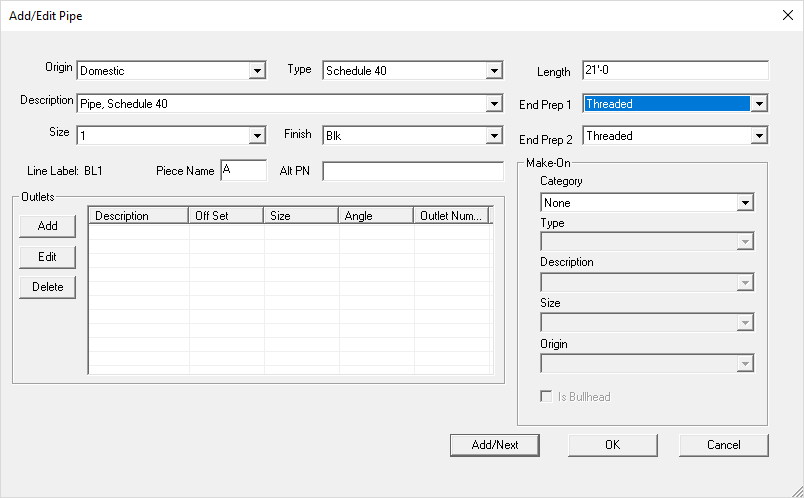
The New Line button opens the Line Name dialog where users can create a new pipeline by specifying a pipeline name. Selecting the OK button saves the new line and opens the Add/Edit Pipe dialog where a pipe can be added to the created pipeline.The Add/Next button will add a pipe with the selected properties to the pipeline and prompt the Add/Edit Pipes dialog to refresh so that another pipe can be entered. The OK button will add a pipe with the selected properties to the pipeline and close the Add/Edit Pipes dialog.
Add Pipe to a Pipeline
Select the desired pipeline in the left pane of the Add/Edit Pipeline dialog and click the Add Pipe button to add a pipe to the selected pipeline. This opens the Add/Edit Pipes dialog. Preferences shown in the Add/Edit Pipes dialog are the same as those from the first pipe in the selected pipeline by default. The Piece Name displays the numerical value of what the created pipe will be. This value is determined by the order that the created pipe will be in sequence in the list of pipe pieces. Users can edit the Origin, Type, Description, Size, Finish, End preps, Piece name, part number, and Make-on fitting properties using the drop-down menus in the Add/Edit Pipe dialog. Length and Alt Part Number must be entered manually into the corresponding fields. Click here for instructions on how to Add or Edit a Pipe Outlet. Add/Edited Loose material changes are pushed back to the FAB file and material pane when the Update button is clicked. The Add/Next button reopens the Add/Edit Pipe dialog so users can continue to add pipes in the selected pipeline. Added pipes will continue to count in pipeline sequence.There is no back button when changes are made in this dialog. Add/Edit pipe changes are pushed back to the FAB file and material pane when the update button is clicked. Use the Delete button to delete a created pipe. Click here for instructions on how to delete a pipeline.
Edit a Pipe Piece
Select the desired pipeline in the left pane of the Add/Edit Pipeline dialog and click the Edit Pipe button to edit a pipe in a selected pipeline. This will open the Add/Edit Pipe dialog where users can edit the properties of the selected pipe piece.
Delete a Pipeline
1
Select the quantity field of the branch line you would like to delete from the stocklist in the Add/Edit Pipe dialog.
BL3 with a quantity of 20 is used in the example below.
2
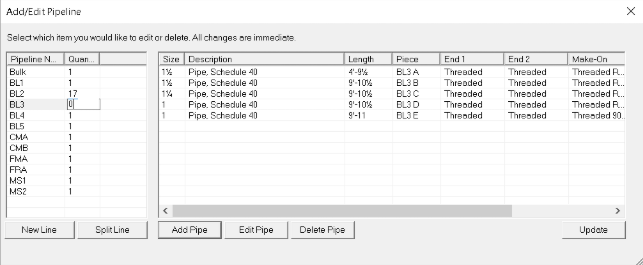
Change the pipeline quantity to zero.
3
Click anywhere outside of the currently selected field.
The pipeline will now be removed from the pipeline list.
4
Click the Update button to finalize the quantity changes to the Material pane and Fabrication Labor pane.